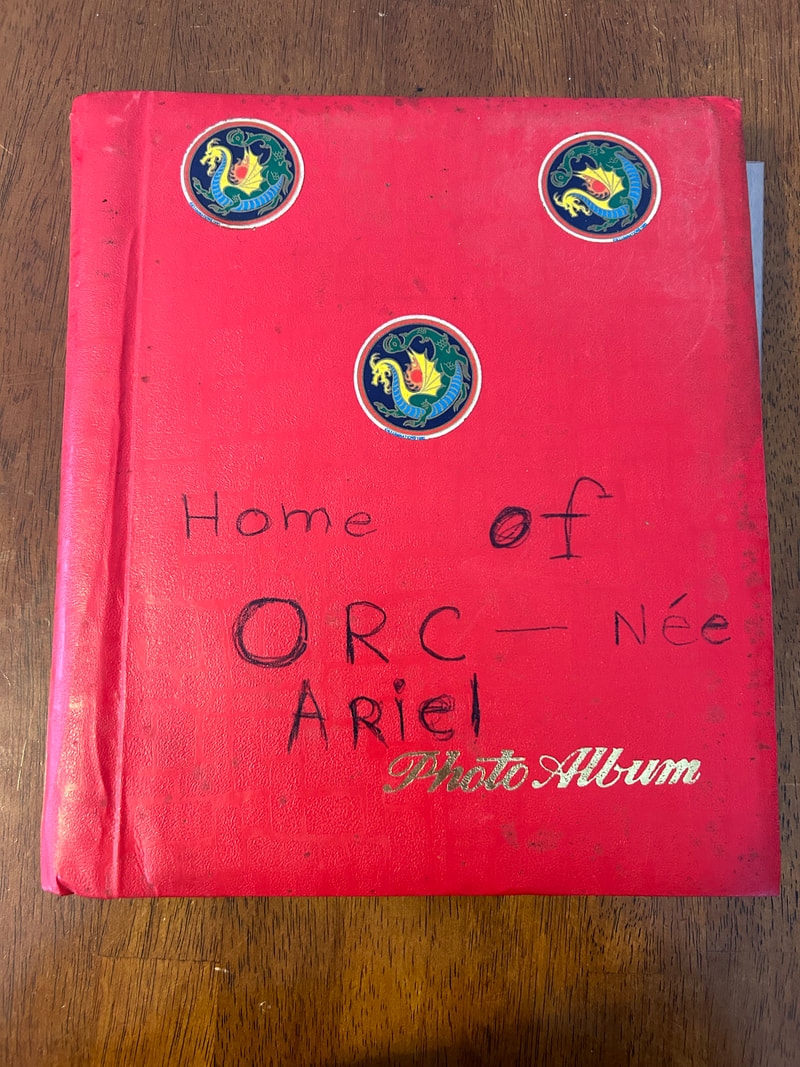
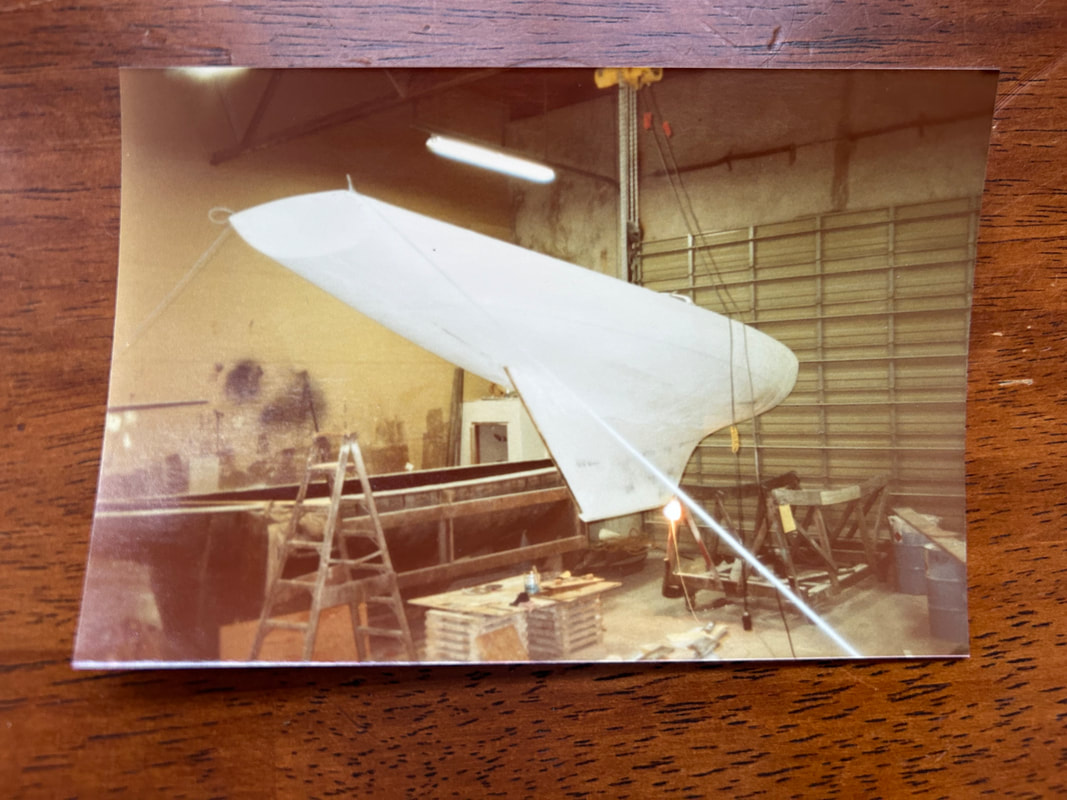
Here, in the first pictures in the album, you see the hull fresh out of the mold. The primordial lighting even feels like the birth.
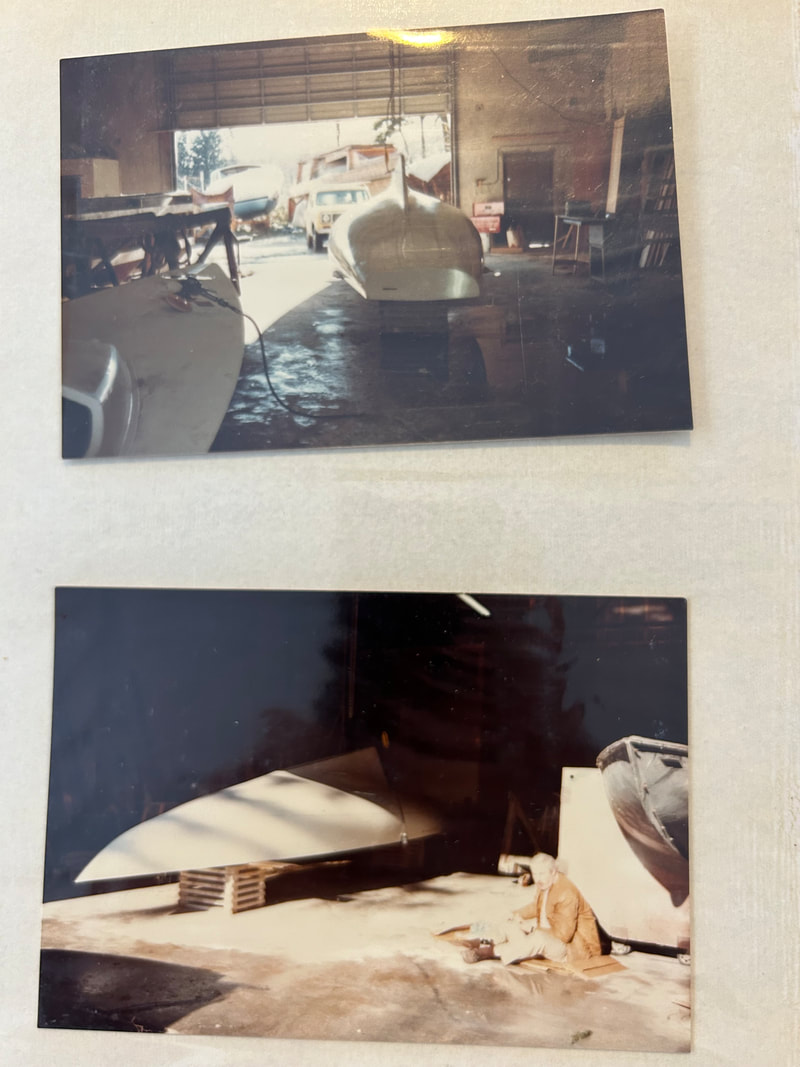
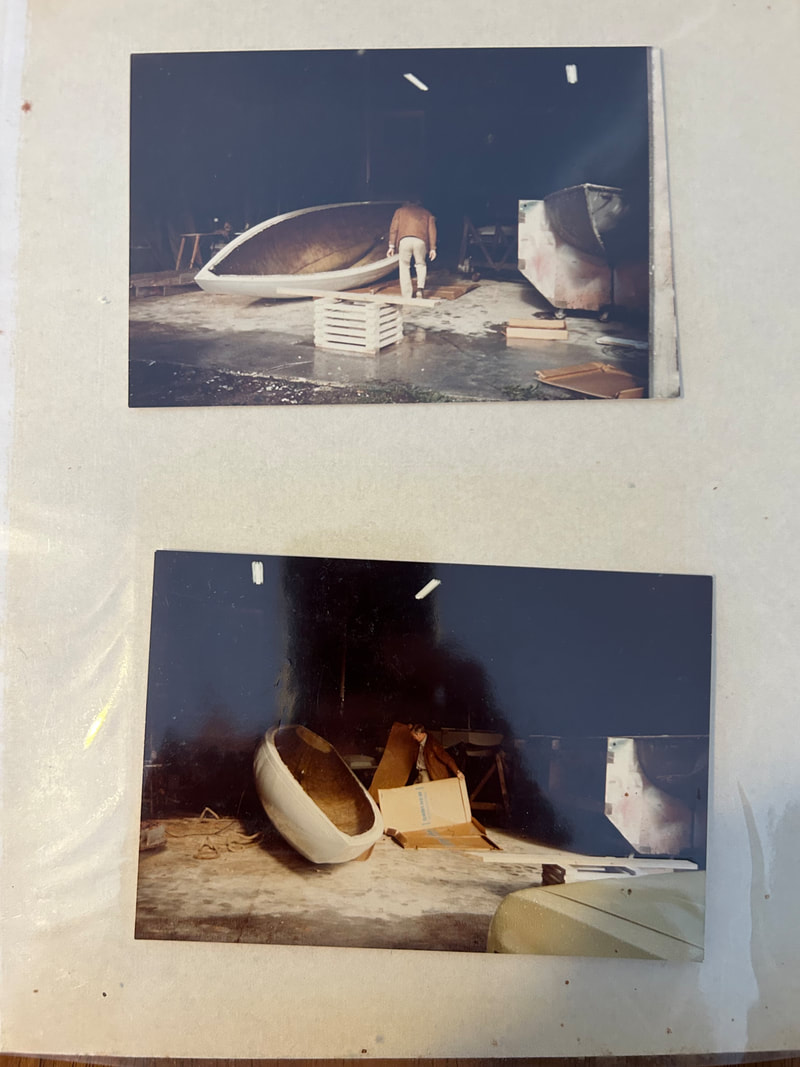
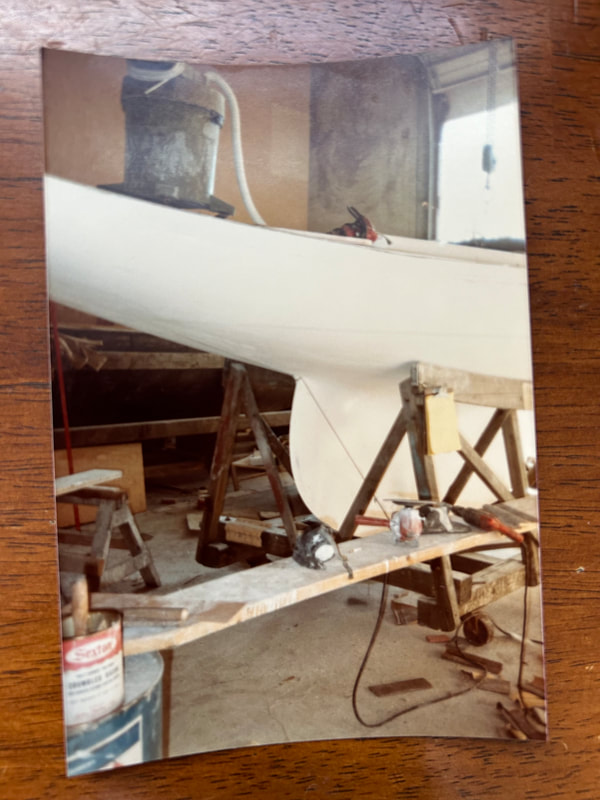
In these next two shots the sanding and fairing begin - garage door open on the warehouse to the northwest sunshine, bow extending from shadow, shark like.
The sanding and fairing begins.
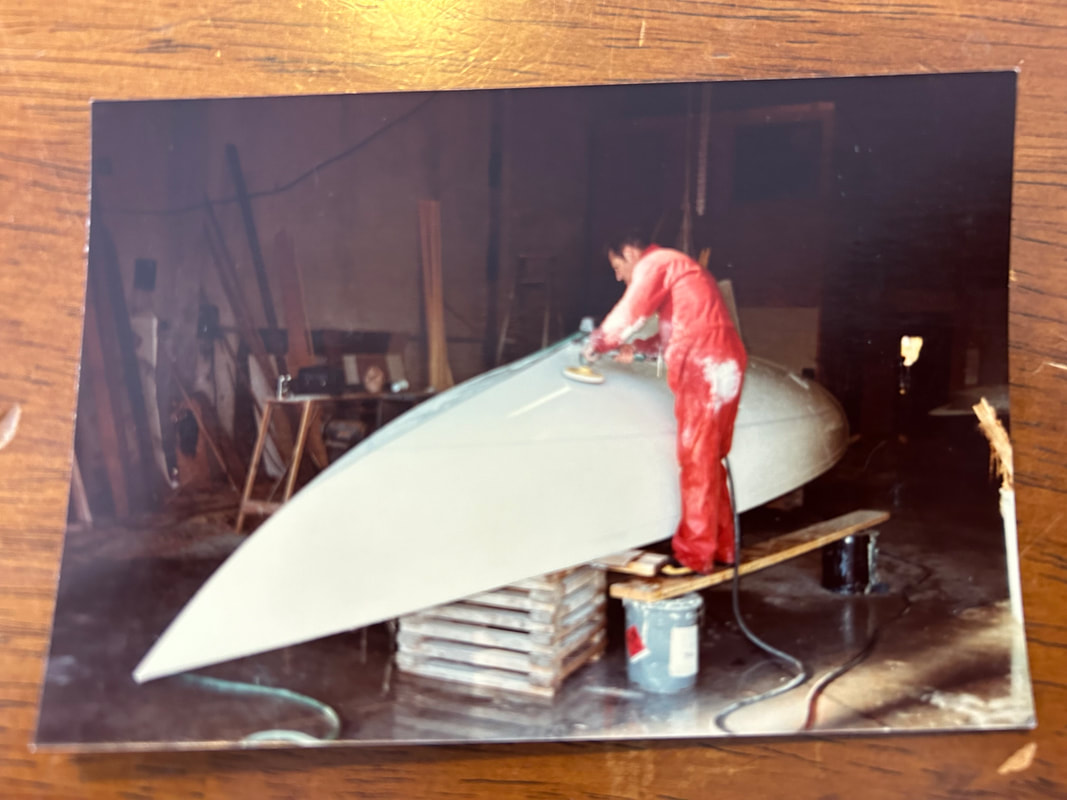
Without the keel and rudder, the hull feels like a canoe, so much less substantial.
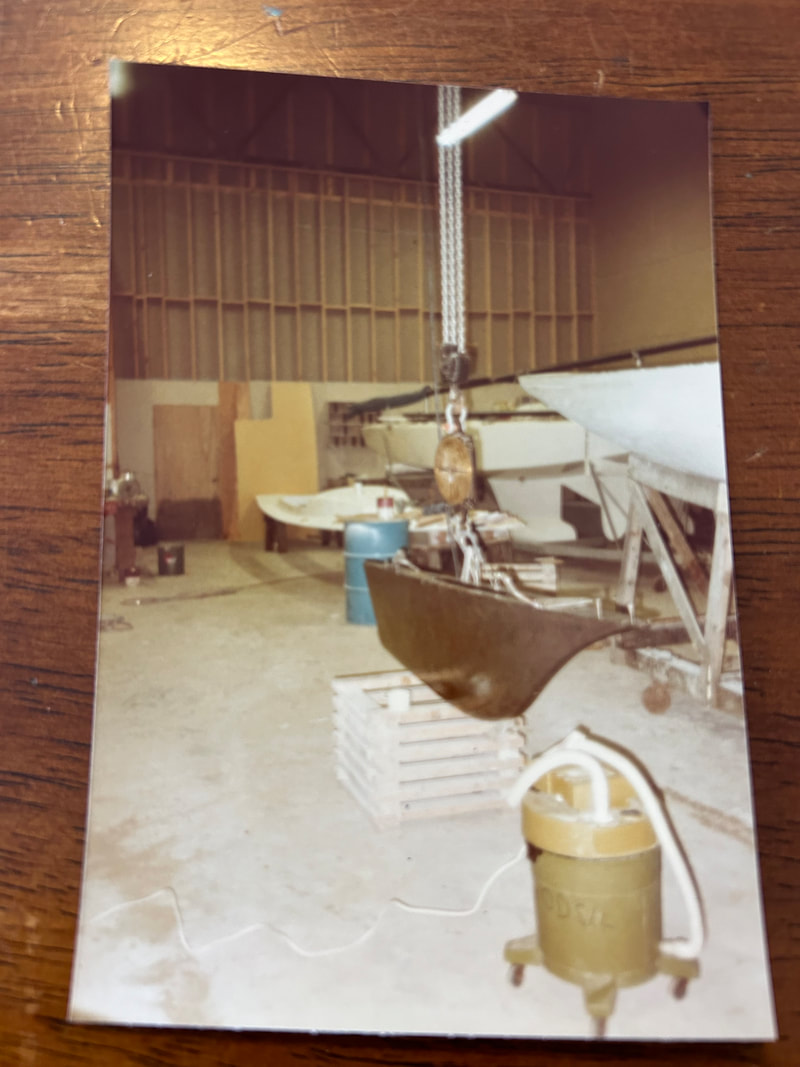
Now it's time to put the keel on. The International Dragon Class Yacht Rules state that a Dragon Class Keel must be of cast iron.
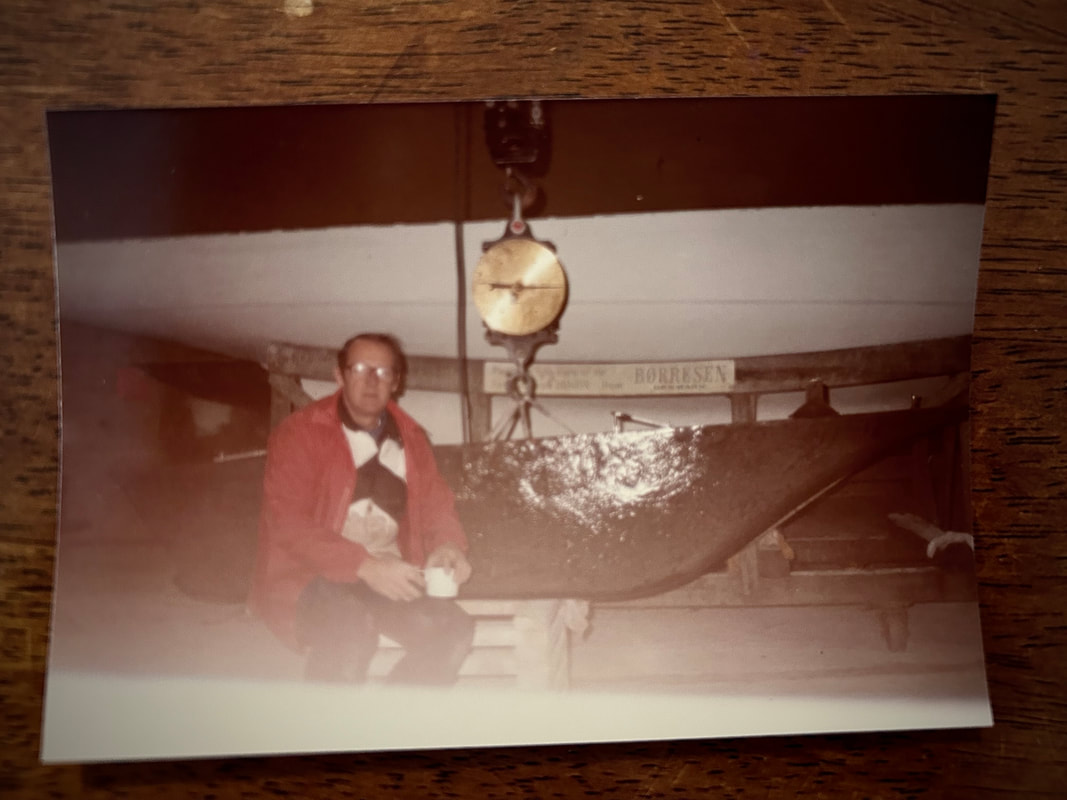
My father weighs the keel and records the result for posterity. The class rules state that the keep must be no less than 1000 kg (2205 pounds) and no more than 1020 kg) if my memory serves. It of course is certified by official measurement and by someone who holds the role as class measurer, but here you can see my Dad with the keel and scale for visual proof.
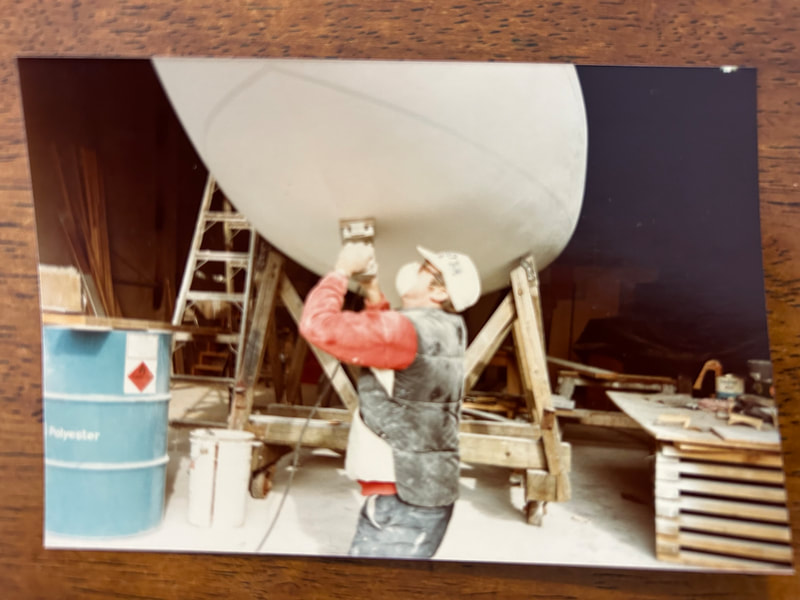
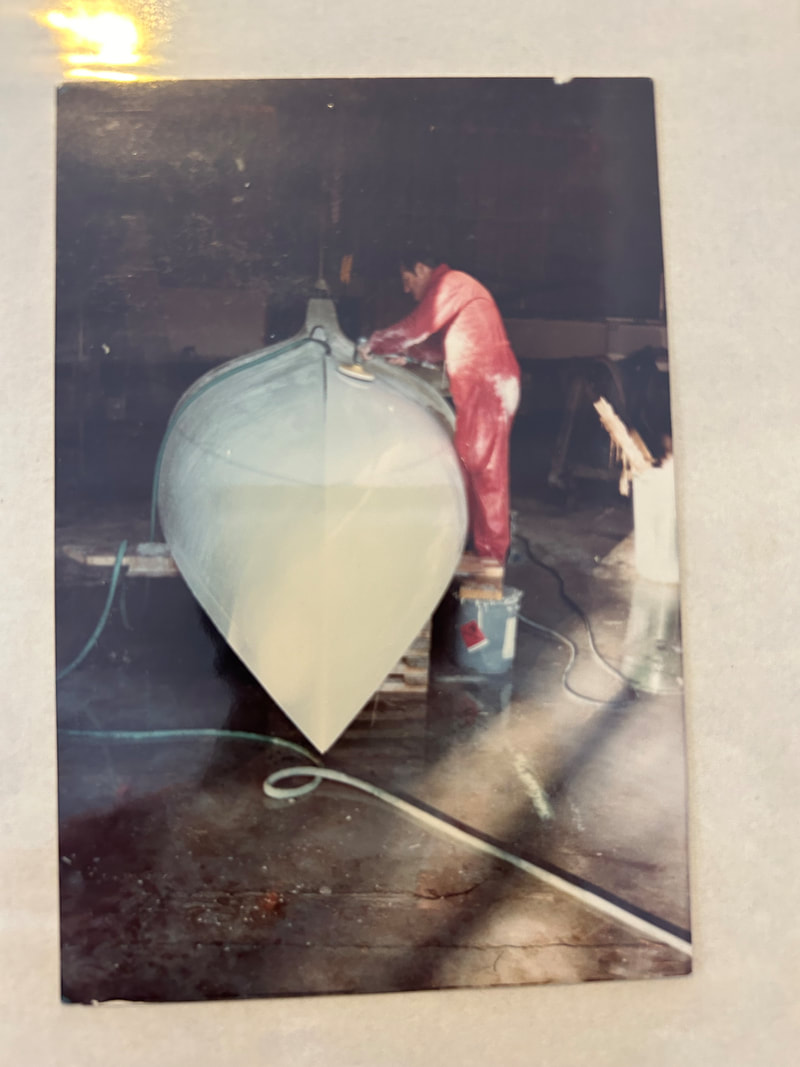
And now that the keel is put on, it's back to grinding the bottom.

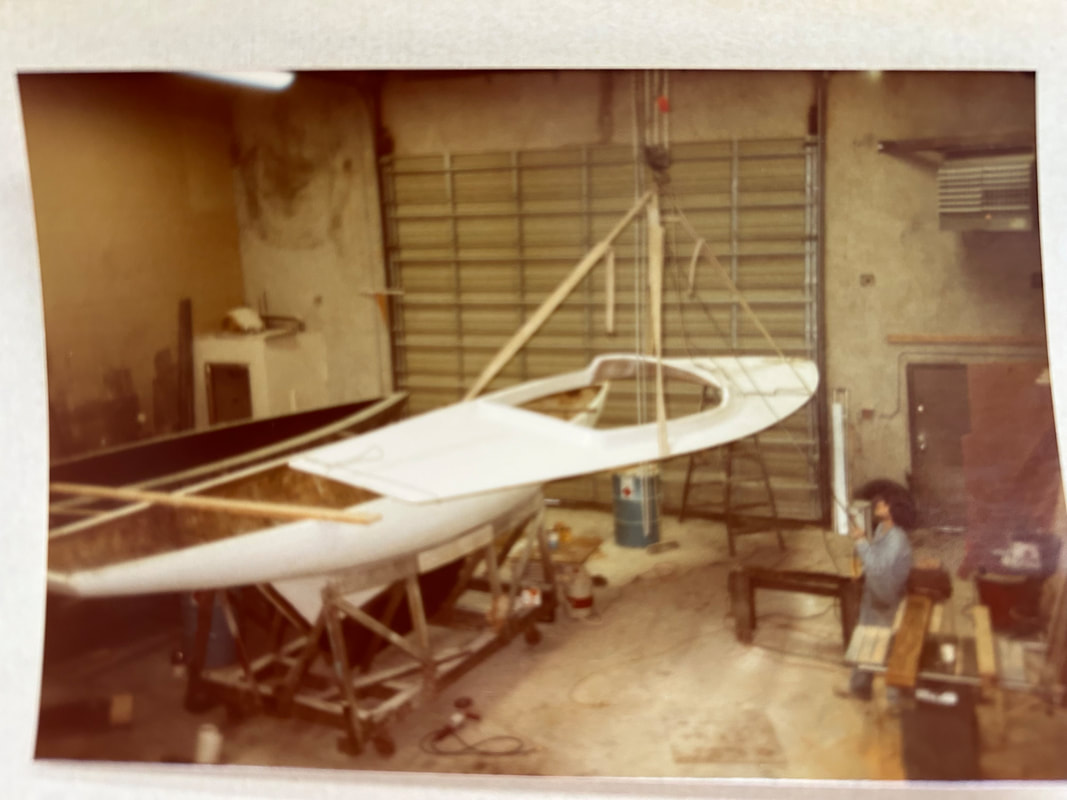
And in this stage, we see the deck being lifted and placed on the hull. The deck was laid up separately and is joined to the hull by hand all along the gunnel. This requires quite a bit of craftsmanship to make sure that the boat doesn't crack or leak and remains seaworthy through the rigors of wind and waves. See that hole in the deck near the front? That's the 'chute launcher. The spinnaker would be launched and stowed through this hole. A door on the track would then be slid shut so that the boat did not take on water in heavier air.
Now it's time to put the rudder on.
|
There it is.
|
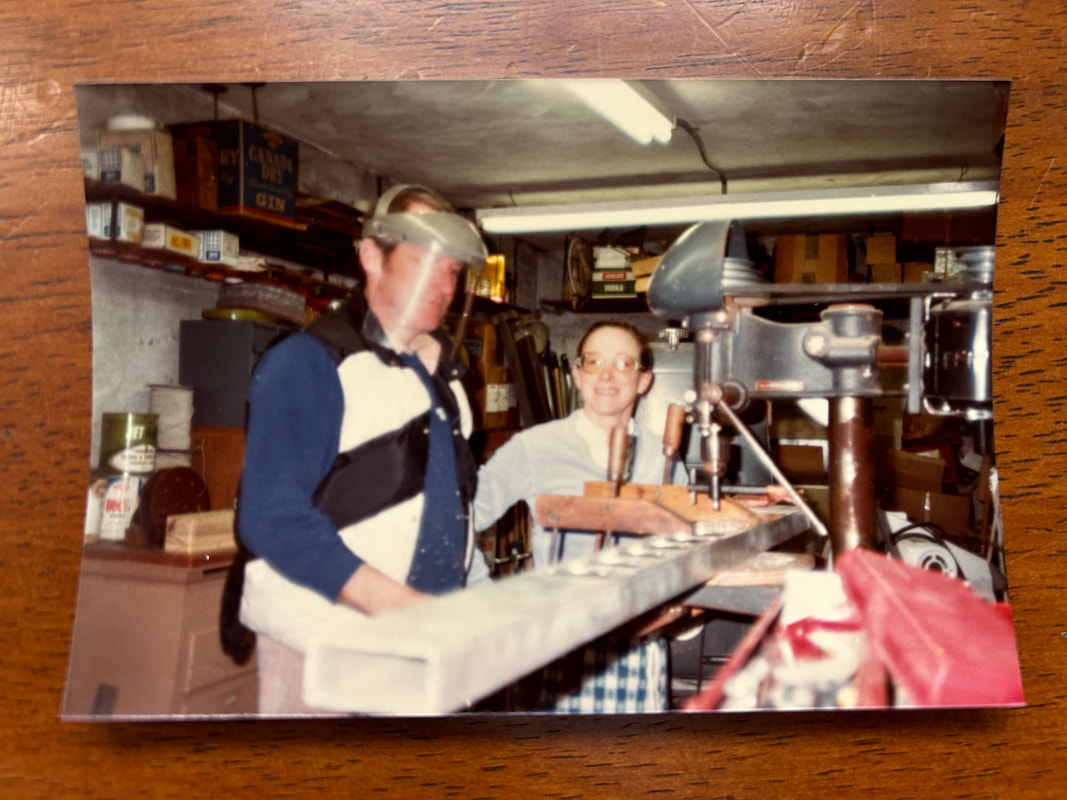
Here's Dad in the basement shop, using the drill press to drill holes in the traveler. This is indicative of the level of perfection and craft, and well as the aesthetic value. I look at my father's face - almost a bashful joy in his work, as if he's a little self-conscious about being caught having so much fun. With my mom in the picture, and busy cooking dinner - note the checked apron she's wearing beneath the line of the metal traveller my dad has clamped to the drill press – Who's taking the picture? Was it me? Or possibly one of the many constant dinner guests dropped by and even stayed the night.
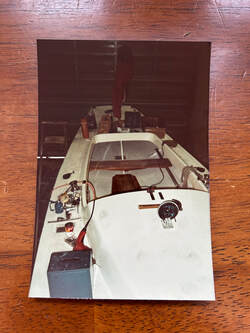
After that, the floorboards go in, and then the boat is fitted. Note the globe of the compass on the top of the cabin, where everyone can see it. In round-the-buoys racing, a compass is used not so much for navigation, but rather to judge slight modifications in the course due to wind shifts – a ten degree shift here and there – and to check the angle of the starting line, to see which line is closer to the wind, or ‘favored.”
On World Championship or other international marquee events, the courses will be longer and the the weather mark might be beyond the field of sight, so the race committee will provide a campass heading, say, 170. But for most local sailing, course navigation is sight-line, with buoys all being visible.
On World Championship or other international marquee events, the courses will be longer and the the weather mark might be beyond the field of sight, so the race committee will provide a campass heading, say, 170. But for most local sailing, course navigation is sight-line, with buoys all being visible.
Here we see a series of shots of Ariel, from deck to completion. Once the deck is put on, the hull needs to be stiffed with balsa mood core. Light but stiff, the balsa wood tiles are placed one at a time and then layered over with resin and then pained with white gelcoat. It’s back-breaking work and my Dad would have a craftsperson do it. The bow and stern are left un-reinforced to keep weight out of the ends of the boat - you can see one shot towards the bow and one towards the stern. It’s faster to keep as much weight low and in the center of the boat as possible.